Showing posts with label Before and After. Show all posts

Sunday, February 3, 2013

Nursery Reveal

It's time for the big before and after of our walk-in closet turned nursery!!!!!! I can't believe it's done and we pulled it off especially since we are having her in just a few days!

Let's start with the finished result...

Jasmine Star's little sanctuary
The frame was a $0.50 find that my mom got at an estate sale. We transformed it by spray painting the outer frame gold and then removed the glass. Next, we painted the cardboard with a few coats of chalkboard paint for her name.
I'm obsessed with these glass bulbs. They are intended for either candles or plants but you could fill them with really anything for decoration. I chose star garland and randomly twisted the wire within and then hung them from ceiling with fishing line. The plan is to put battery operated tea lights in each one. Perfect dim lighting for all of the late night feedings. 
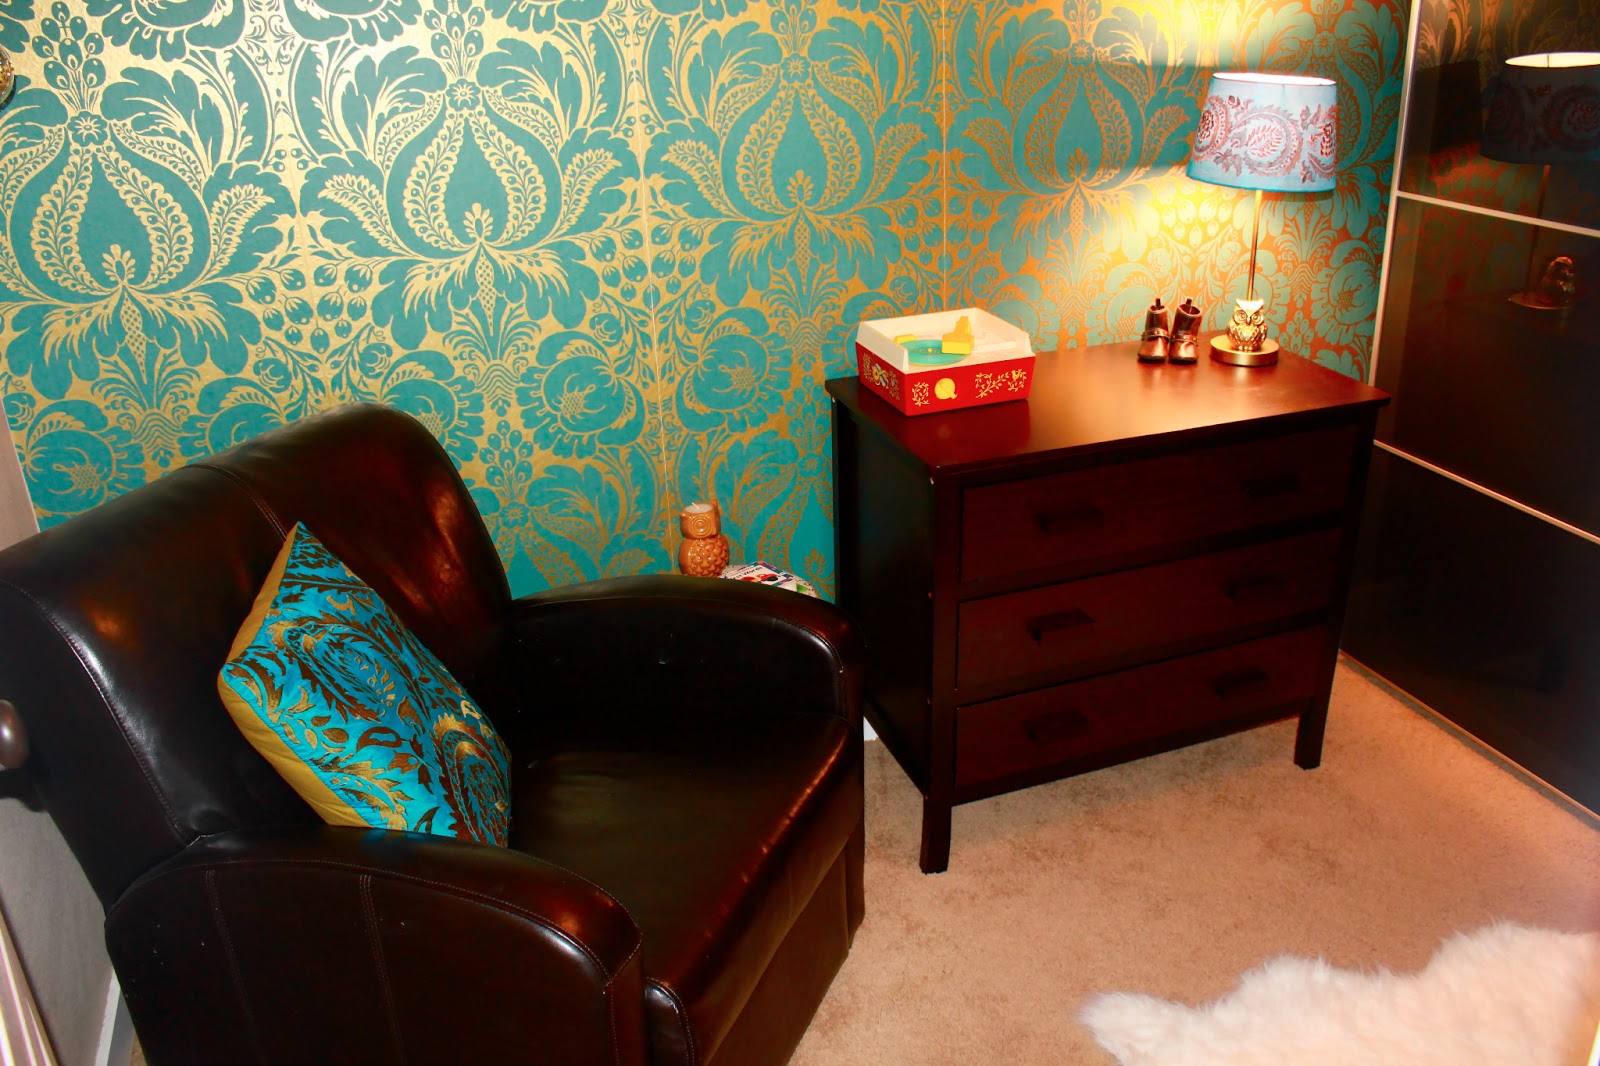
 The owl lamp was from my bestie and her hubbie for Christmas that she spray painted gold to match the room. Do they know us or what?
This is a 1972 vintage toy record player. If you must know....it was also my little splurge that added flare and quirkiness to the room.

 We transferred ALL of our many racks of clothes into this spiffy wardrobe organizer from IKEA. The left side is for all of my girliness as well as Jasmine's dresses & coats & the whole right side is the hubby's. Of course he has a tad bit more room then me lol I love that we can reuse it for years to come.
 We utilized the space on top of the wardrobe frame with magazine organizers and photo boxes. As you will see from the before pics we had ALOT of magazines and extra pics and memorabilia stacked on top of our clothe racks. The organizers were our solution to the clutter and a practical use of the space and now we know where everything is!
The bassinet is actually from when we were pregnant with our first daughter 7 years ago. I can't believe how fast the time flies! Plus it was still in great condition even after being used by at least six different families.
 This is by far my favorite section of the room and I'm loving how our homemade mobile turned out. To think that it was made from just a branch that John and I picked up from his parent's property and spray painted, fishing line, and cardboard birds painted blue makes it that much sweeter (and for only a buck). I can just picture her staring at it from her bassinet.

The lanterns were originally dark brass and were hand painted to match (they were a target bargain find!)
There you have it- our funky fun space for our newborn. We also tried to keep the decor something we could easily have as our own adult space/haven once she starts sharing a room with one of her older sisters when she outgrows the bassinet.

But the makeover wouldn't be complete without a glance into the BEFORE: 
Our crazy messy walk-in closet we started with:
Transformed into a nursery AND functional closet!

It's hard to believe that it's the same space! We are ready for you baby girl and are so excited to bring you home to your new little sanctuary =)

Thursday, April 12, 2012

Drawer Vanity

How do you write about organizing your drawers without it sounding vain? Not going to try. Here is a pic of our girls bathroom that joins in between their rooms that they share. We painted it gray and added cherry blossoms last year. My version of girliness!
Their drawers on the other hand, had become a free for all and were looking more like junk drawers. So I went to the good ol' dollar store and invested in organizers and when I say invest, everything including the drawer liners cost me less then $10 and that was for six drawers!!
                                         
BEFORE 
AFTER:
Nevaeh's Drawer
The stackable square organizers with white lids (came in pkg of 10) and made it easy to sort, label, and give everything it's own spot. The plastic decorative bowls which were in pkgs of 4 were perfect for her "jewelry". Sweet. The square organizers actually attach to one another or can be separated and came in pkgs of 3 and were used for her hair ties and play makeup.

AFTER:
Ruby's Drawer
I decided to give each girl their own drawer to make it easier to find and put away their own clips and hair ties.

Due to Ruby's super dry skin, all of the travel size lotion and band-aides were placed in a container for when needed or on the go.
Did I tell you how much I LOVE these bowls? Yes. Yes I did. One was used for flower clips and the other for sunglasses.
After the photo I even added a stash of her binkies so we have spares in one spot until she's ready to give them up. Let me rephrase that...Until WE are ready for her not to be a baby.

Then there were our drawers. Although I didn't get any before pictures, trust me when I say it was pretty overwhelming to go through everything and purge the drawers of clutter. Here is the end result.

AFTER:
My let's pretend I'm a grown-up drawer 
The coolest find was the plastic trays that I picked up that are really intended for serving food/snacks (I found it near the food section in the dollar store). I used the clear one for my cosmetics which will be so very practical and I love how it looks.
The other tray I spray painted silver for my jewelry. One compartment for earrings, one for short necklaces, and one for bangles. The longer necklaces were organized in a separate rectangle organizer.


Now all of my jewelry is in one spot!


AFTER:
My husband is a rockstar drawer
John took part in the organizing action and did his own two drawers. Quite an impressive job! If your'e wondering the clear rectangle organizers came in pkgs of  2 and the white baskets in pkgs of 3 and the mini square containers were the same I used in the girls bathroom just without the white lids.
He used the mini ones for his guitar pics, change and misc. screws and nails. Just what every boy needs.
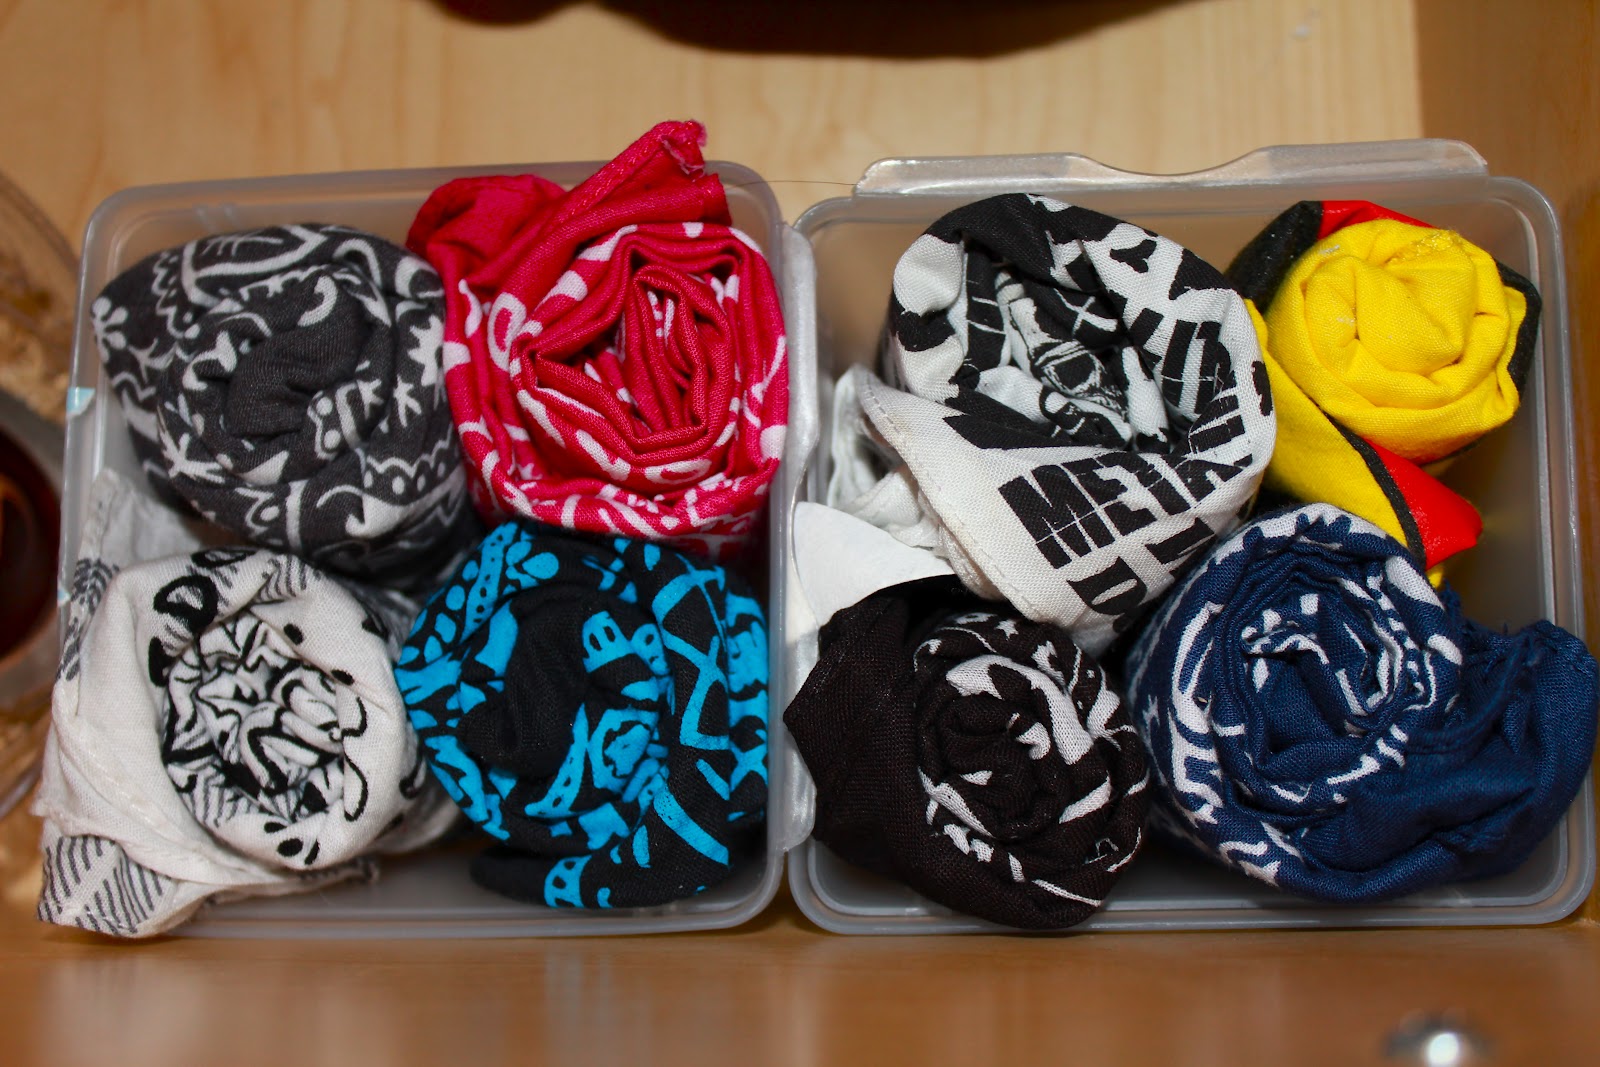
Lastly, his pocket bandanas were rolled up and put in smaller containers in the bottom drawer- that's the only credit I can take for that suggestion. Sorry hun I didn't put stripes in your drawers. It's manlier to have them plain though....right?

MANLY                   Vs.                      GIRLY
As far as the liners, I got rolls of white adhesive liner that I then cut into four pieces (1 roll for 4 drawers). Painting the surface was not easy and the gray bled through the painting tape so I recommend free-handing it instead.
It was time consuming and I asked myself more then a few times why in the world I was taking the time to paint something others will rarely see (unlike our striped art wall )!?!
 BUT it made such a difference and I would do it all over again! 
Or you could go to a real store and buy a liner with a pattern. Smart. Very smart.

Thursday, March 1, 2012

Game On

Closets. Nuff said. As you can see from the picture, our games and puzzles were overflowing and needing to be consolidated and I wanted to modernize it. Yes. Modernize a closet. You laugh now but oh is it worth it.

BEFORE
AFTER
I'm diggin the new wallpaper which is actually wrapping paper. It took four rolls and some elmer's glue spray to give the space a new look.
The wire coat hanger/shelve was painted black and hung higher for more space.
The key piece is our new designated game cabinet where all the games are now neatly tucked away.
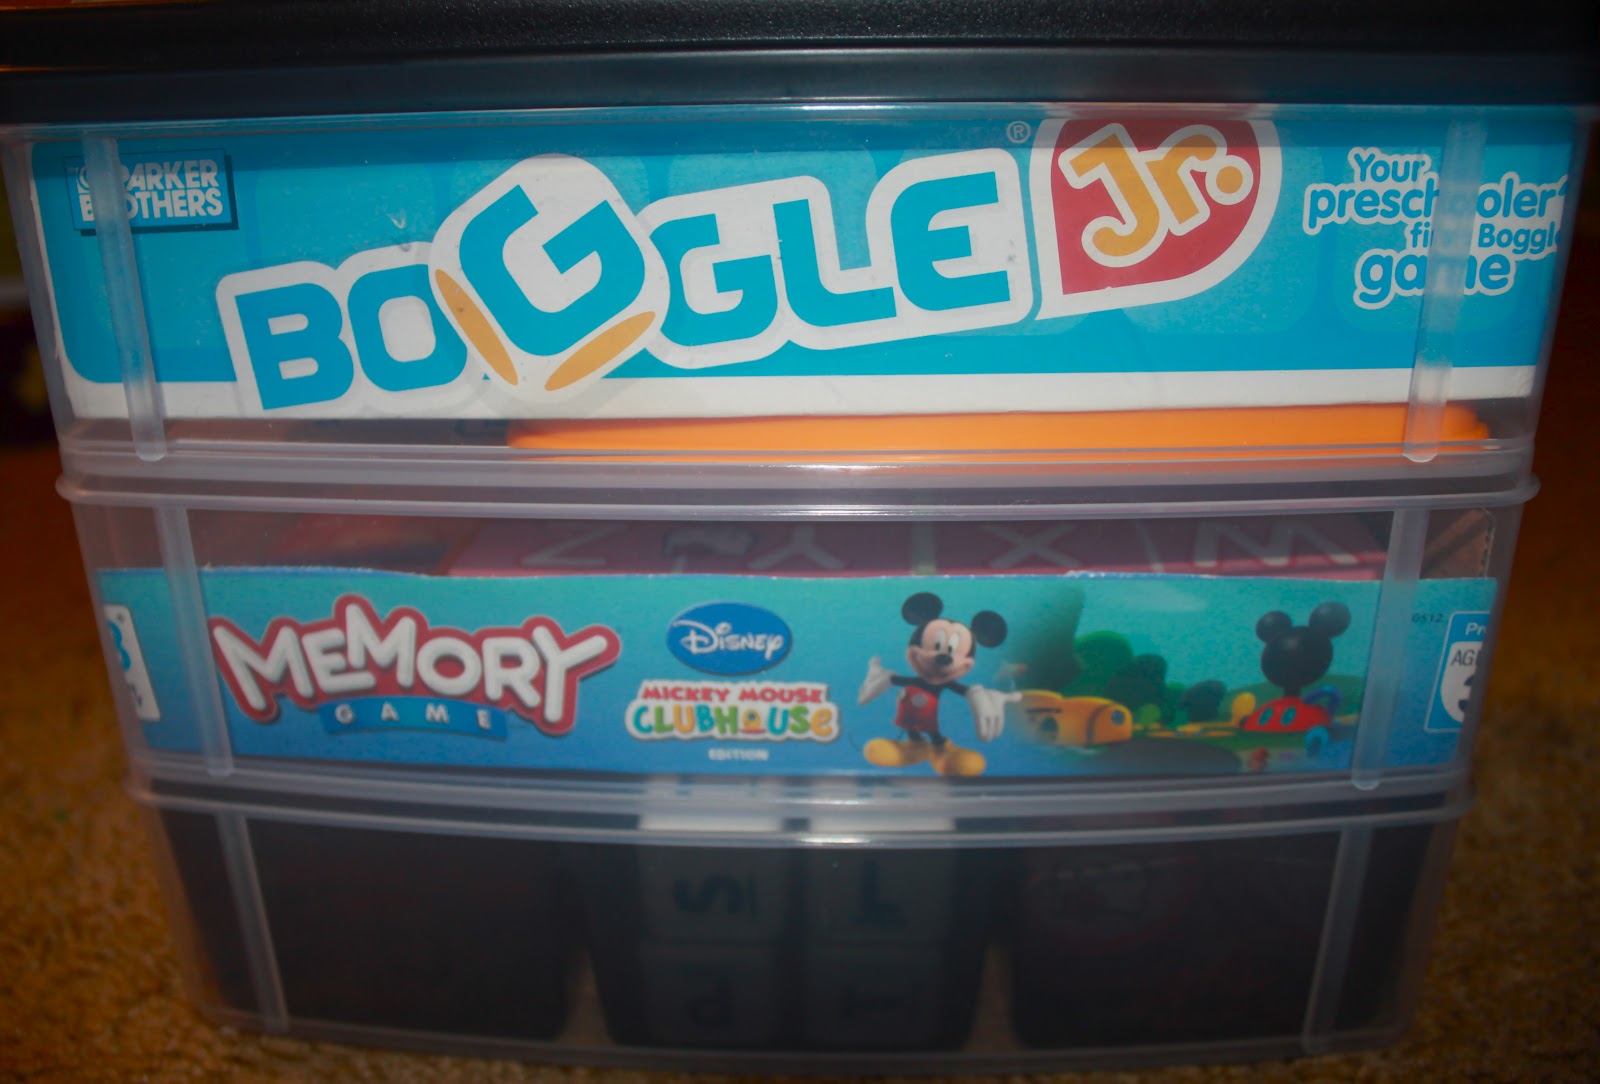
Another before picture of our game clutter. I decided to remove the contents, combine them together and organize them within plastic totes.
The containers were labeled using the side of the each cardboard box which was cut out before they were tossed out (recycled with love for all you hippies). It's amazing how much less space they took up afterwards.

The small game parts fit neatly in the bottom section.
For the larger games, I used wider totes 
and put the puzzles in ziplock bags. Again, all were labeled so they could easily be found as well as put back where they belonged.
What a difference!
In the closet world, the end result is a Angels singing johnny cash type of transformation. That and my girls can now reach everything!