Wednesday, November 14, 2012

Get your felt on

It's insane how fast time is going (this coming from a preggo lady who is in denial about having baby #3 in just three months!!!!!) and I can't believe Thanksgiving is just next week! Which is another opportunity to practice thankfulness and of course nerdy craftiness.

Last Christmas, we decked the halls with felt christmas trees and let the kids decorate them to their hearts content. I've secretly been waiting all year to bust them out again. He He. It's suddo important to this mama that we teach our children the spirit of gratefulness not just on a holiday but what it looks like on a daily basis. For Thanksgiving, I really wanted to do another felt craft but also something that had some significance. Thus, the thankful turkey was born.

Meet Mr.Thankful Gobble Gobble
Get a variety of cheapo felt
Draw out your pattern & cut (or just eyeball it). Keep in mind that you will need a larger pattern that can be placed on the wall first so that the turkey body and feathers have something to stick to.
Have your child write down different things they are thankful for on each feather. I'm planning on having them add to their feathers yearly with different pens and perhaps smaller handwriting =)
 Ruby decorated/scribbled faces on a few of her own and Nevaeh jotted down some of her sister's ideas such as yo gabba gabba or "smiley faces".
Mount your larger piece on the wall (adhesive putty works the best) and let the kids go for it!


What I love about felt decorations is they can last forever. This nerd is going to have a tote full for every holiday. Better yet, I should just make a flannel board....it worked in Sunday school right? lol I can see it now. Instead of Mary & Joseph, John will be showing the girls how to survive zombies with little figurines on the board!

Thursday, October 25, 2012

Fun in the dark


BLACK LIGHT ARTWORK

I have to say this has been our favorite activity/discovery to date! John had recently purchased a black light for halloween and just happened to plug it in above our kitchen chalkboard and low and behold the chalk glowed!!!!!! The rest was a no brainer. We got out the chalk we had made (see link) prior and the girls went to town doing grafitti, all under the blacklight.


BLACKLIGHT EXPERIMENT

Next, we took the same black light fixture and using an extension cord, went around the house on a hunt to find things that would glow. Some things were truly fun and surprising to see transform like certain picture frames or toys and others were a little disturbing like the sinks in the bathroom! The simplist things are the most amusing to kids. They love to be little scientists and go on mini adventures and this let them do both.

SHAPES WITH GLOWSTICKS

Family dance parties are nearly a weekly must in our household. We play fun music and try to have a small supply of dollar store glowsticks tucked away for the fun occasion of doing the dance party in the dark.

Recently we found a new "game" by making shapes with the glowsticks. By placing the shutterspeed on our camera on a low setting, we were able to capture different designs. We didn't need a tripod for this but simply took the picture and within the time delay, drew different designs into the air. The kids were entertained for over an hour experimenting with different techniques to create these fun pics. Ok. We were ALL entertained!

"Everyone draw a heart!"
"Ready set go. Everyone draw a square! Triangle! Star!" It became sort of like simon says and our youngest had fun at attempting to draw the shapes too =)


Gotta love glowing rainbows!
 

Just wanted to share some family creativity in the dark!


Friday, October 19, 2012

DIY Makeup Part 2: Powder

Ready for round two? First I tried homemade lip gloss which you can read about here . I really have been using it daily and would recommend it to anyone. Now onto making homemade makeup powder!!!
What's baffling to me is why I hadn't tried this sooner. Besides, the ingredients are straight out of the kitchen pantry!
Here's what you'll need:
* Baking Cocoa
* Cornstarch
* Cinnamon
* Empty plastic container (or re-use one from previous powder)
*NOTE: Cinnamon is optional. If your skin is naturally sensitive like mine, apply a small amount to the side of your hand, blend, and let sit for 24 hrs to ensure that you don't have a reaction before you mix it with other ingredients
The cocoa is naturally good for your skin on it's own. I used baking cocoa that was dutched which means it was treated with an alkalizing agent and is less acidic.


To make your powder first start with the cornstarch as your base then add cocoa and if desired cinnamon to get the right shade for your skin (I used both). Go a shade darker then your natural skin tone by adding a little bit of cocoa at a time.
Blend the ingredients together thoroughly and apply to your beautiful smiling faces daily! Because we are always beautiful and smiling right lol
 So proud of my miniature makeup collection. Feels good to do things on your own doesn't it?

Sunday, October 14, 2012

Doggy Birthday Party

Last week was Mochi's very first birthday and for the last few months Nevaeh has been crucially planning a doggy birthday party. That's right folks. A dog party. How exactly do you throw a birthday party for a dog you ask? I had no clue but with the help with my 6yr old we pulled off a simple and fun party.
Just ask this birthday boy!

After Nevaeh made her own invitations and passed them out, she got to work on the goodie bags. We used paper bags and then chalkboard signs on small clothespins for each doggie guest.
Each bag had a ball and a chew treat. Next was making a dog friendly dessert! We used this simple recipe:

Carrot Dog Cake
1 cup whole wheat flour
1 tsp baking soda
1/4 cup natural peanut butter
1/3 cup honey
1/4 cup vegetable oil
1 cup shredded carrots
1 egg

Mix all the ingredients & shape the batter into a large bone onto a greased cookie sheet. Bake at 350 degrees for 15 min (30 min if using a cake pan).
*Optional: Use 1/2 cup of peanut for frosting. That was the funnest part for the girls!
 The leftover cake batter was then used to make bone treats. Fill each cookie cutter only 2/3rds full & bake for 8-12 min depending on size.
 
When they were done I left the room for a few minutes & when I came back...well the dog friendly cake & treats had sprinkles on them. So we went with it.
The location was at the park which meant very little clean up & instant fun for the kiddos!
Now if only the girls parties could be this simple! The only thing I really did was buy capri suns & scooby doo fruit roll ups "for the humans". Oh yes. And birthday hats for the dogs. Didn't you know that's a requirement?
Happy Birthday Mochi! You have added a whole lot of crazy and fun to our lives and we love you!

Sunday, October 7, 2012

DIY Makeup: Part One

Making your own makeup is not a new concept but it was a major why- the-heck-not light bulb for me after seeing a similar idea from Miss Indie. Really though. Why not? Besides, I was one of those kids that took the liberty of mixing together everything I could get my hands on in the kitchen and then daring my sister to eat whatever nasty concoction I came up. Ketchup and pepper and fruit- nummmmm. So in a way I had experience being a creative mad scientist already right?

It really is SO easy to make. And it happens to be a sweet gift idea too. Here's what you'll need:
* Petroleum jelly
* Blush or eyeshadow
* Shimmer (optional)
* Empty round makeup container
* Vanilla extract, Jasmine extract, or Peppermint oil for fragrance (only add a drop)
Add your ingredients and then mix them together and your set! The more powder you use, the darker your final lip gloss will be. I used some old blush that had been broken and then ground it further into a fine powder and then added a very small amount of white fine shimmer.
 As far as the vanilla, the upside is that it smells amazing. The downside is, it makes me want to eat a tub of cookie dough every time I use it. Not so great lol  Lastly, I modpodged some pretty paper to the top of the container and I love how it turned out!
What do you think? Would you create your own makeup if it was easy and cost effective?

Thursday, September 6, 2012

Magic in a bottle

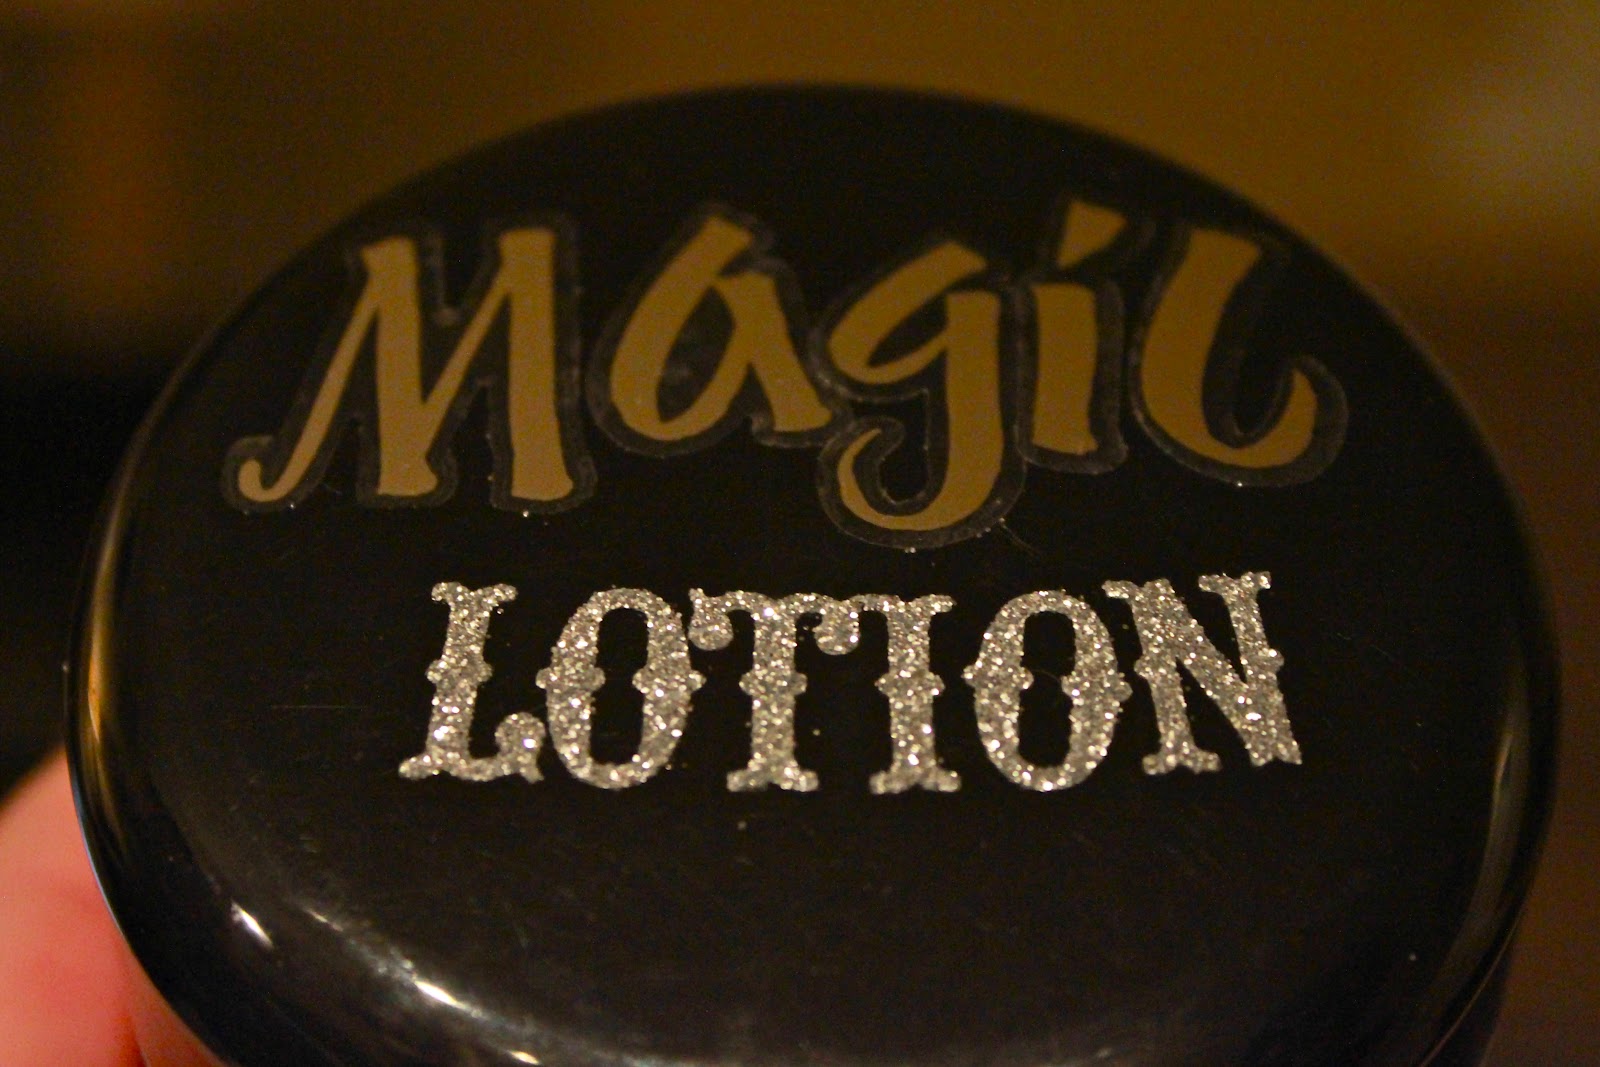
Two things are deemed to be magic on our little karraker household: "magic lotion" & "magic spray". It all started a few years back when our oldest daughter started waking up in the middle of the night with growing pains. She would cry and we would pray for her little legs and rub them until she fell back asleep. But she started to ask for medicine because they hurt so bad and instead we opted to rub lotion on the problem spot & it actually worked wonders. In her mind it helped so much it somehow it deemed the name "magic lotion".  I actually made her an official little tub of lotion to use now that she's older and if she wakes up with growing aches and pains to use on her own.


Tonight my back was hurting (how my back hurts so much at only 15 wks preggos I don't know) and she grabbed her magic lotion- rubbed it on my back and prayed for it. Yep. It was quite the moment that made my mommy heart smile.

The other household lifesaver is magic spray. It may be only water & detangler but to them it is pure gold. Before brushing tangles and knots out of the kidlets hair was a BIG deal to them and a major battle in the mornings. They fussed & cried & despised the process & thus so did their parents!
Meet Magic Spray


 Here is what you need:
Empty spray bottle
Bottle of detangler
Fine glitter
Bling*- beads, sequens etc
Letter decals/stickers

Fill the bottle half way with water and add your sequens, glitter, and beads. Next, top it off with detangler spray. You can use it fully concentrated but I find it to be too sticky in the girls hair. 

 What they were most excited about was being able to shake them up & watch all the glitter fall down. To be extra nerdy I added a special unique hidden "treasure" in each one that they look forward to finding every morning. It could be a small toy or in this case I used a small kitty bead. Pretty simple no?
Their little station is set up in their bathroom so it is all ready to go the night before. Can you believe they actually look forward to brushing their hair now?!
Let's face it everything sounds better with a little magic. Let's try it: "magic work". Ok maybe not.

Wednesday, August 1, 2012

The truth is

The truth is I have tunnel vision and it's hard to envision anything but my limited viewpoint and perspective right now. I guess that makes me a 28 yr old with a mind of a 5 yr old? OR a hormonal preggo lady. All I can see is myself and my sickness all the while knowing that this sickness has a purpose.

The dreaded bowl and the IV bruises. The crackers that I am just now able to keep down after 3 1/2weeks. After all, this is supposed to be a joyous time to celebrate as there is a miracle- a human being growing in my tummy for pete's sake. And here all I can think is that I would be more grateful and  more happy and more satisfied and more gracious IF IF IF. Whine whine whine. It's too easy just to see the symptoms- the COMPLICATIONS.

Ironically when we are suffering, those are the times when we get real. With ourselves, and if we are brave...with one another...and with our Heavenly Daddy. Because He can handle it.

We are forced to have a reality check. Forced to see the gunk in our hearts.  Because when I see the gunk in my heart...I see my need for Jesus. And that is actually a good place to be. And then I find I am not nor have to be miss tough or supermom or career ninja or sexy wifey or miss crafty. So there. I am just me and that is ok. I need my Savior and I need His grace...and perhaps another popsicle.