Wednesday, March 27, 2013

Bento Friday

Tomorrow Jasmine will be 7 weeks (pics coming soon)!!!!! Where has the time gone? It's been amazing having time at home with the girls and even John had a few weeks off to celebrate as a family. One thing we started doing was adding some creativity to lunch time or should I say chef Johnny adding creativity by making each Friday into "Bento Friday" (Since it's spring break I can get away with posting this on a wednesday right?).

BENTO FUN
 This bento was a hit at school with Nevaeh and she was eager for the next Friday to see what we came up with. We came up with the bunny grape idea from the olive bunnies we did for easter last year! Aren't they cute?
The octopus's were made with hotdogs for the body, seaweed for the neck, sesame seed eyes and cheese noses. Toothpicks were placed in the center of each one to help them stand. These were so fun to eat!

OCTOPUS HOTDOGS
Note: Add a little mayo to the surface of the hotdog so the eyes, nose, and seaweed will stick easily
PIGGY SUSHI
To create the pink rice add beet juice to your cooked sushi rice. Ham was used for the ears, sesame seeds for the eyes, and cheese for the noses!
CHICK & A BEAR
Trick: use a dried pasta noodle to hold together the different body parts on the egg to create the chick
 KITTY SUSHI
Use a beet for the cute little bow
The possibilities are endless! It's cute to see how excited kids get over this stuff. Trust me when I say- lunch time will never be the same =)

Sunday, February 3, 2013

Nursery Reveal

It's time for the big before and after of our walk-in closet turned nursery!!!!!! I can't believe it's done and we pulled it off especially since we are having her in just a few days!

Let's start with the finished result...

Jasmine Star's little sanctuary
The frame was a $0.50 find that my mom got at an estate sale. We transformed it by spray painting the outer frame gold and then removed the glass. Next, we painted the cardboard with a few coats of chalkboard paint for her name.
I'm obsessed with these glass bulbs. They are intended for either candles or plants but you could fill them with really anything for decoration. I chose star garland and randomly twisted the wire within and then hung them from ceiling with fishing line. The plan is to put battery operated tea lights in each one. Perfect dim lighting for all of the late night feedings. 
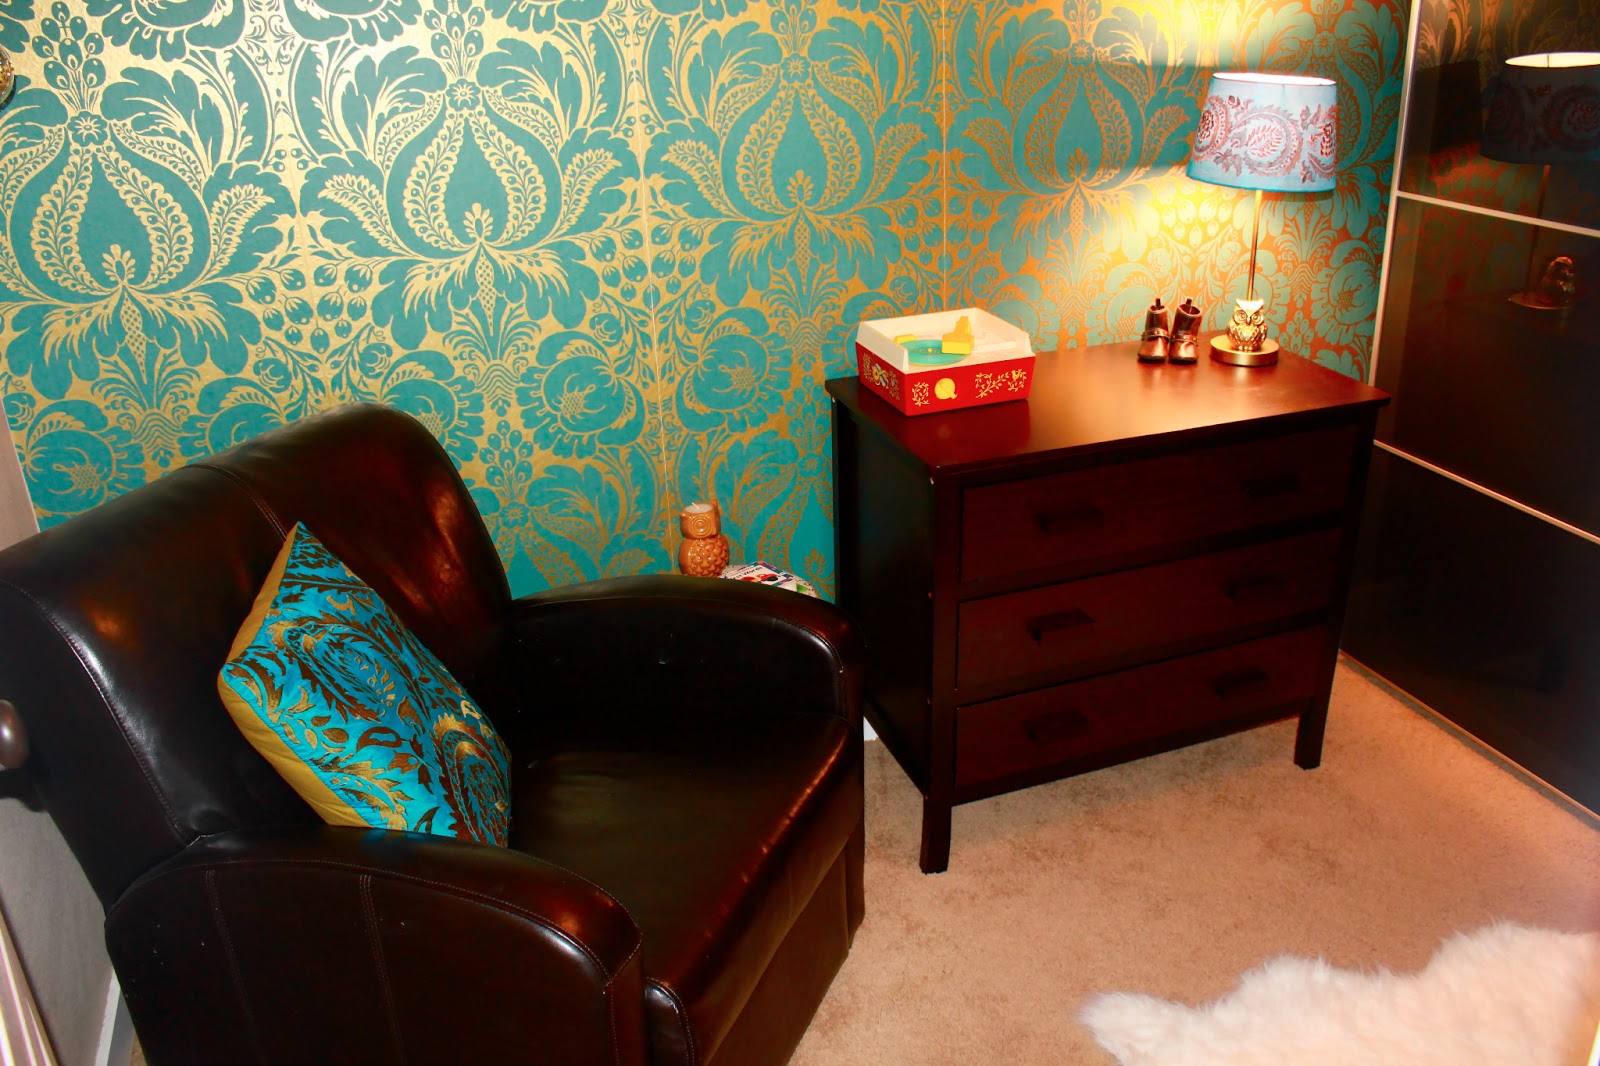
 The owl lamp was from my bestie and her hubbie for Christmas that she spray painted gold to match the room. Do they know us or what?
This is a 1972 vintage toy record player. If you must know....it was also my little splurge that added flare and quirkiness to the room.

 We transferred ALL of our many racks of clothes into this spiffy wardrobe organizer from IKEA. The left side is for all of my girliness as well as Jasmine's dresses & coats & the whole right side is the hubby's. Of course he has a tad bit more room then me lol I love that we can reuse it for years to come.
 We utilized the space on top of the wardrobe frame with magazine organizers and photo boxes. As you will see from the before pics we had ALOT of magazines and extra pics and memorabilia stacked on top of our clothe racks. The organizers were our solution to the clutter and a practical use of the space and now we know where everything is!
The bassinet is actually from when we were pregnant with our first daughter 7 years ago. I can't believe how fast the time flies! Plus it was still in great condition even after being used by at least six different families.
 This is by far my favorite section of the room and I'm loving how our homemade mobile turned out. To think that it was made from just a branch that John and I picked up from his parent's property and spray painted, fishing line, and cardboard birds painted blue makes it that much sweeter (and for only a buck). I can just picture her staring at it from her bassinet.

The lanterns were originally dark brass and were hand painted to match (they were a target bargain find!)
There you have it- our funky fun space for our newborn. We also tried to keep the decor something we could easily have as our own adult space/haven once she starts sharing a room with one of her older sisters when she outgrows the bassinet.

But the makeover wouldn't be complete without a glance into the BEFORE: 
Our crazy messy walk-in closet we started with:
Transformed into a nursery AND functional closet!

It's hard to believe that it's the same space! We are ready for you baby girl and are so excited to bring you home to your new little sanctuary =)

Wednesday, December 26, 2012

Duck tape charm

DUCK TAPE BOWS
Let me start by saying that I'm ashamed that I stole borrowed this idea from a few 5th graders selling their crafty creations door to door and thought that it was ingenious and had to be done (after buying one of course- come on I'm not that lame). So off we went to get a few rolls of colorful duck tape to make a bazillion bows/barrettes. 

Here is a play by play:


My 6 yr old was soon on board making her own for her classmates and friends! We displayed the bows by pushing the bobby pins through card stock and gave them away as Christmas gifts.

Even baby Anaya was a fan of her petite little bows =)
Last but not least, I came up with some duck tape flowers that even I've been sporting.
DUCK TAPE FLOWERS
Now when the girlies (or myself) lose them I don't feel too bad because you can make a bazillion more for only a few cents each. Pretty sweet!

Saturday, November 24, 2012

DIY Wall decal

SO excited to share about this project! Giddy excited. We are in the middle of transforming Nevaeh's room from a pink and green haven into a blue horse big girl room. This will probably be something we do a little at a time but that doesn't mean I couldn't get started. The main thing I wanted to get was a unicorn wall decal (my version of a horse) but was not going to pay almost 60 bones for. So I decided to make my own (it only cost $1.29)!
All you need is a black poster board and mod podge as the main material. 
Draw out your design, cut out each shape, and put a layer of mod podge on the backside. Once placed on the wall, cover each piece with a thin layer over the design to seal the decal and create a high gloss effect. The mod podge goes on white and then dries clear. Next, I cut fine strips and made stars for a final touch by repeating the same process.
The end 3-d effect looks better then a sticker decal AND it's something you can make on your own. Plus for a little over a buck it's my kind of project.

Monday, November 19, 2012

On the homefront

Family = unconditional love. Loving each other at our best and at our worst. With our warts and all. I find that home is our little haven where this happens a lot. We take down our guards and the masks come off. It's where we exchange our suits for pjs- figuratively and literally. And yes, sometimes we get whiny and throw tantrums (not just our two year old).

Our love is messy and real. In my world, I think playtime should be no different. There are epic successes and epic fails in trying new things as a family but when you find something that clicks with your brood it just makes it that much sweeter. You create your own traditions so to speak. Here is some of the craftiness that has been going on this fall in the Karraker abode:

*Building using cardboard boxes: Cardboard boxes, hammers, nails, and screws and with supervision they "build" with daddy
* Watercolors in the bathtub: Nothing fancy just cheap washable watercolors instead of expensive bath paints! It cleans up soooo easy.
The girls also loved mixing different colors with shaving cream and painting with their concoction.
*Forts under the table: Mismatched blankets, a lantern, books, and goofiness required
I love the little feet that are peaking out from underneath the table  lol =)
 *Jumping on beds: Our bed, their bed, beds on the floor. All the time. Why not?
If it wasn't so blurry maybe you could see my big ol baby bump he he
*Paint by #'s: Nevaeh has incredible patience and this has been such a great craft for her. It has now morphed into almost a family puzzle of sorts as each of us have taken turns to paint with her a little bit at a time. Even grandma got to do some spots.

* Toddler go to activities: "cooking" with play dough
* Using tongs- I'm amazed at how entertaining this is for her!
*Coloring on butcher paper: on the walls, on the floors, with roads and cars. Geez I love butcher paper.
 * Pom pom activities- sorting & matching the colors into different containers
* Large beads on elastic